
You must have noticed it. You have installed Ubuntu and it seems all good. You leave the system inactive for five minutes or so and it is locked!
You enter your account password and log back in. So far, so good. But you leave it for a few minutes again and it gets locked again.
You have to enter your password again. And it goes on.
For laptops, it is even worse. The laptop goes into sleep mode, forcing you to use the power button to wake it from sleep.
This is annoying. It's frustrating to enter the password again and again because you left the system unattended. The good thing is that you don't have to live like this forever.
It is due to the default power-saving settings in Ubuntu and you can easily change it.
Press the Super key (Windows key) and search for settings.

Prevent screen locking
In the Settings application, go to Power settings. Under the Power Saving Options, you should see a few options of interest.
For example, you can change the screen blank settings from the default 5 minutes to up to 15 minutes.
You can also disable the screen dimming entirely by choosing Never. This way, the screen never dims and never locks.
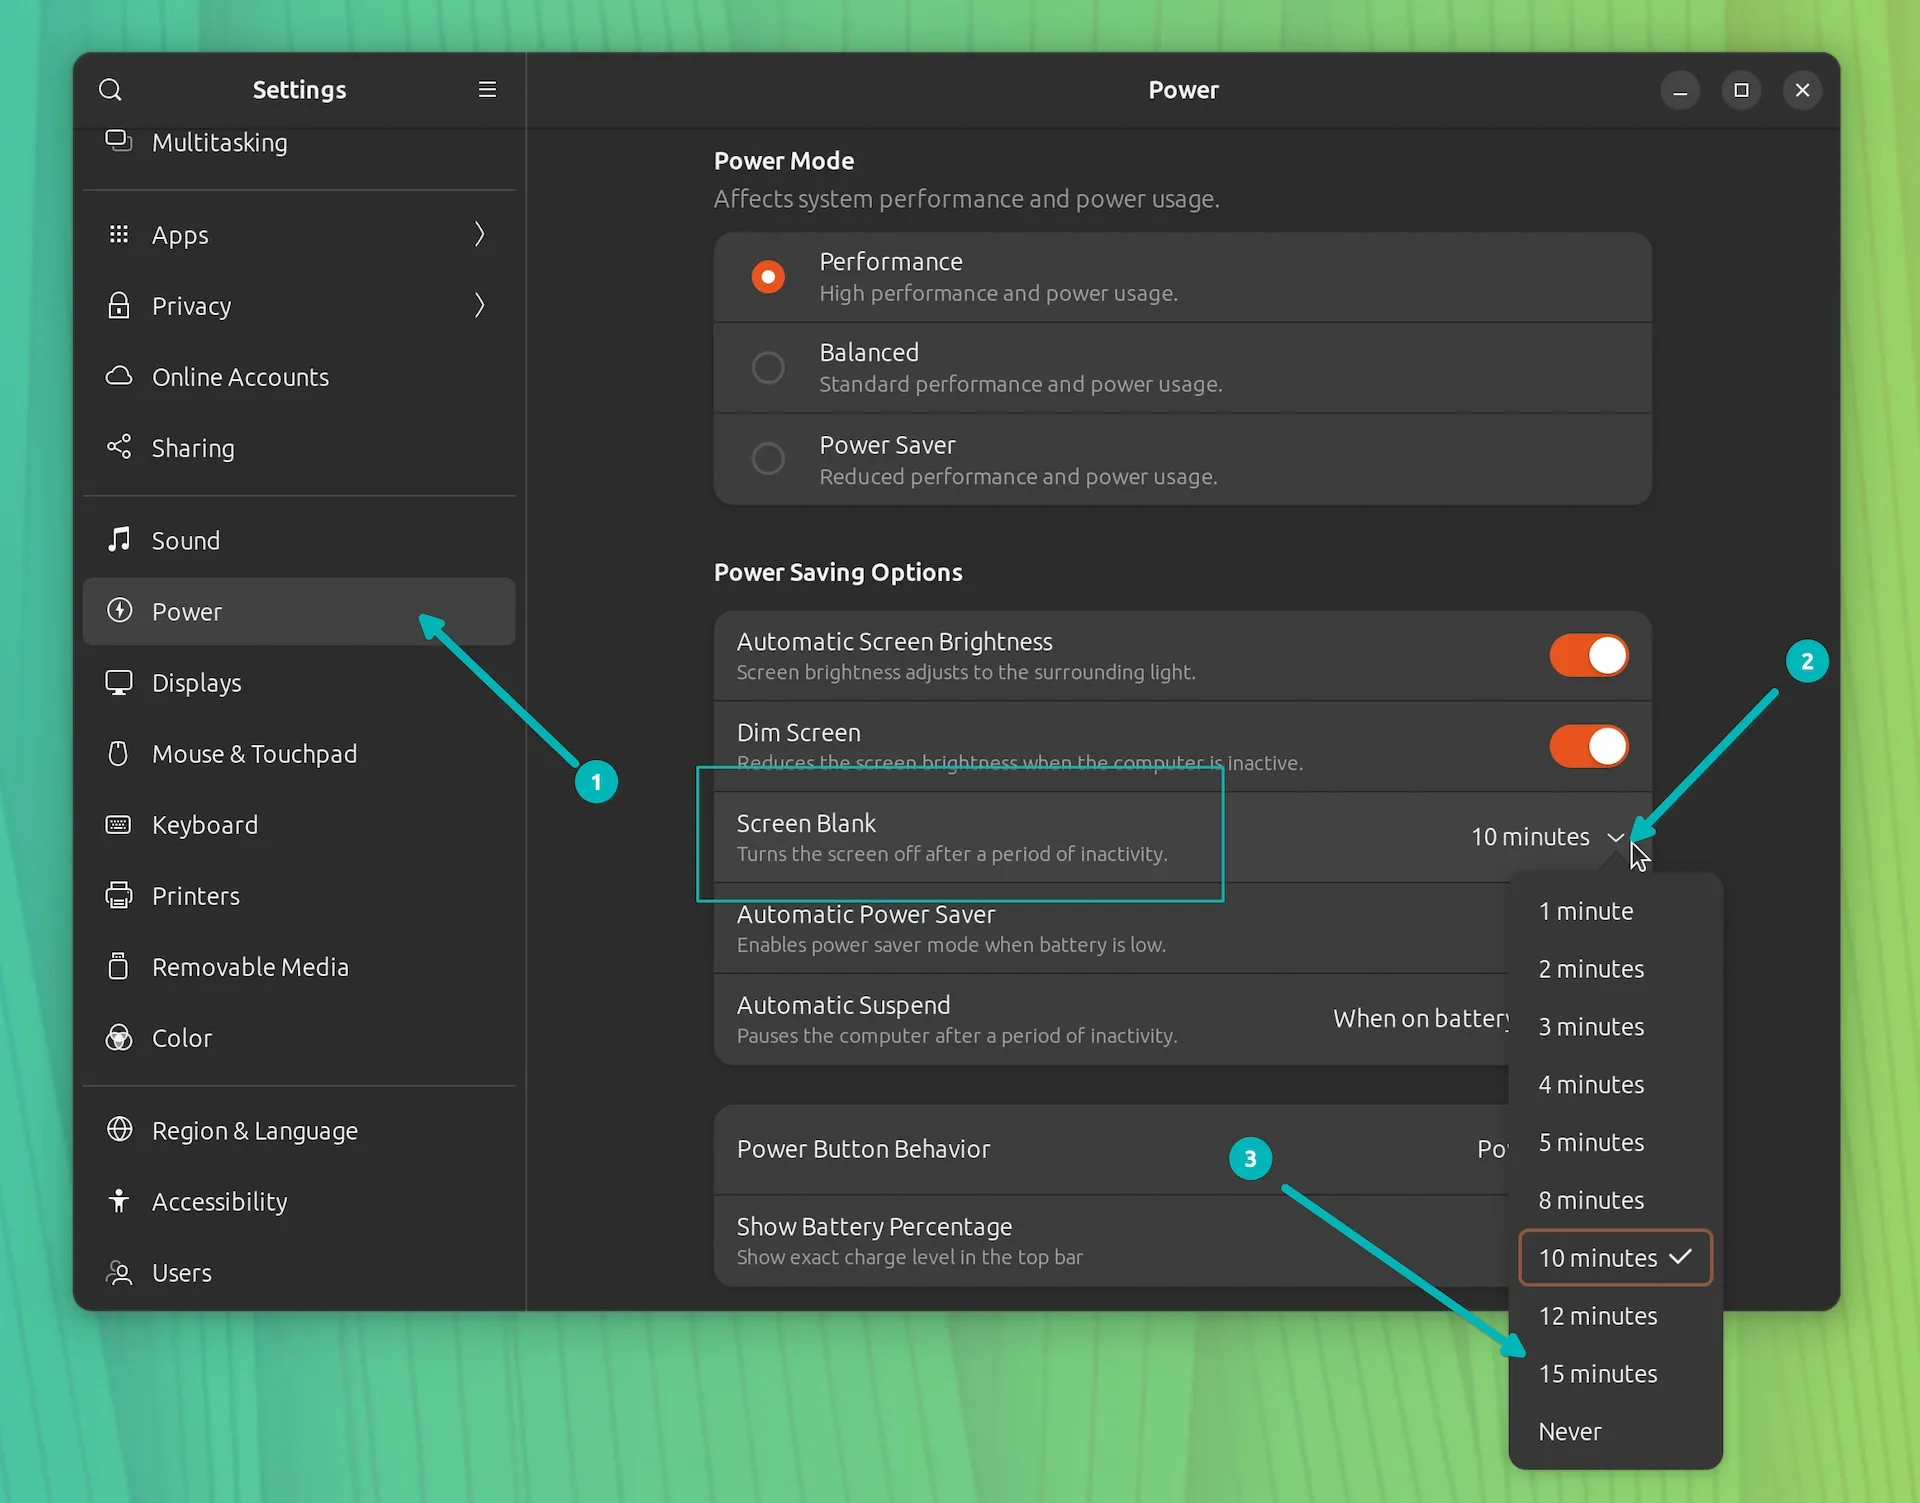
That takes care of screen dimming and locking. Let's handle the automatic suspend issue.
Prevent automatic sleep
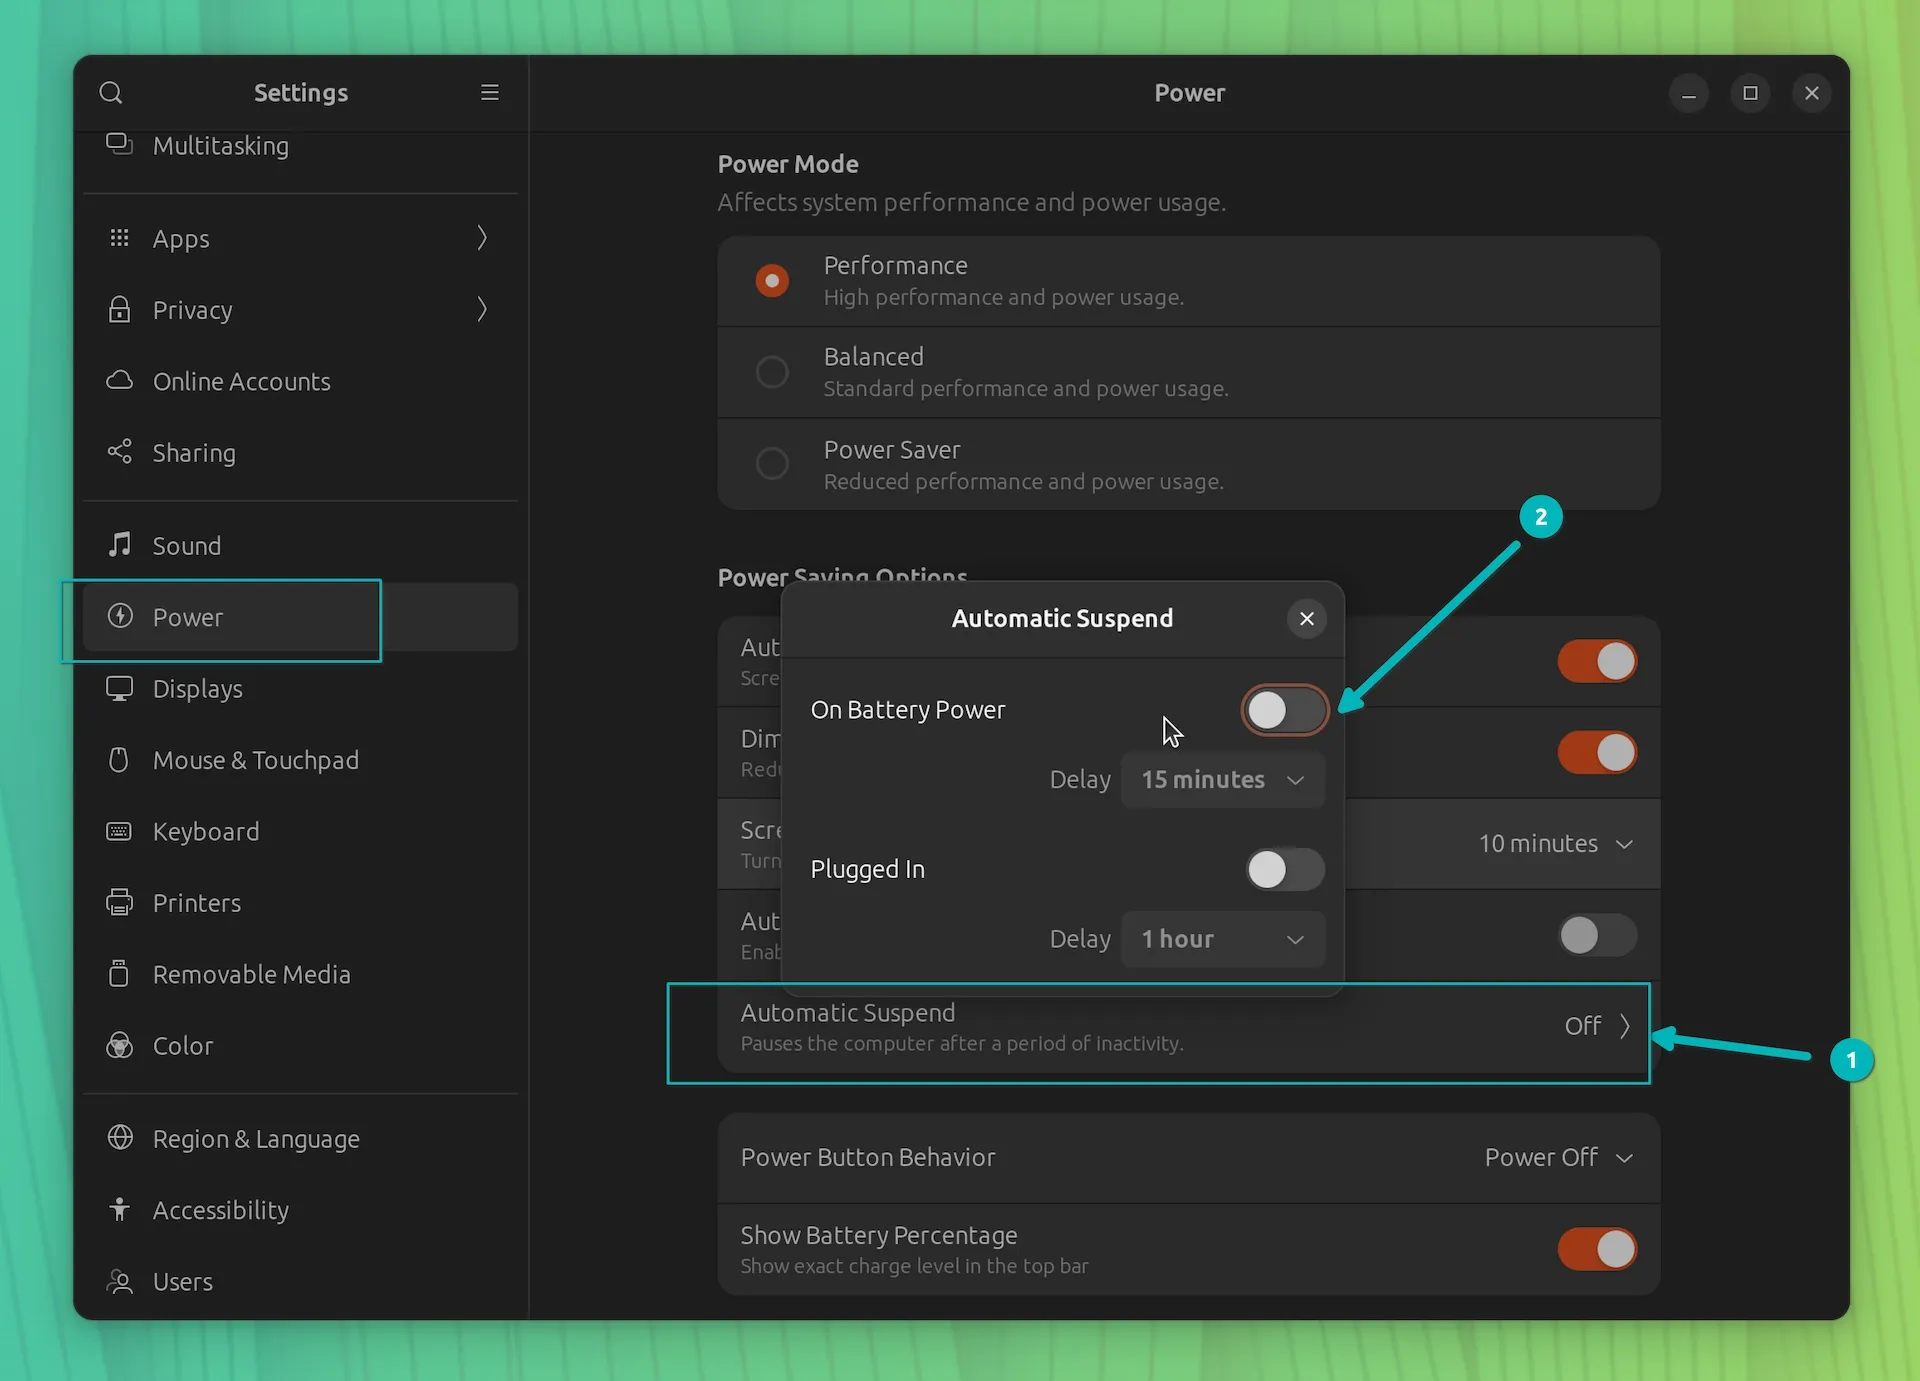
Another setting you should change here is the Automatic Susepend. You can turn it off completely or change its time interval.
This way, Ubuntu will not go in sleep mode and you don't have to push the power button and then enter your password again to access the system.
If you don't want to change the power settings but also like the option to disable screen locking, there is a handy tool you could use.
Alternatively, use the Caffeine app
The idea is to give some caffeine (coffee) to your Linux system so that it does not sleep.
Let's see how to brew it. I mean how to use it.
First, install Caffeine on your Ubuntu system. You can look for it in the software center and install it from there.
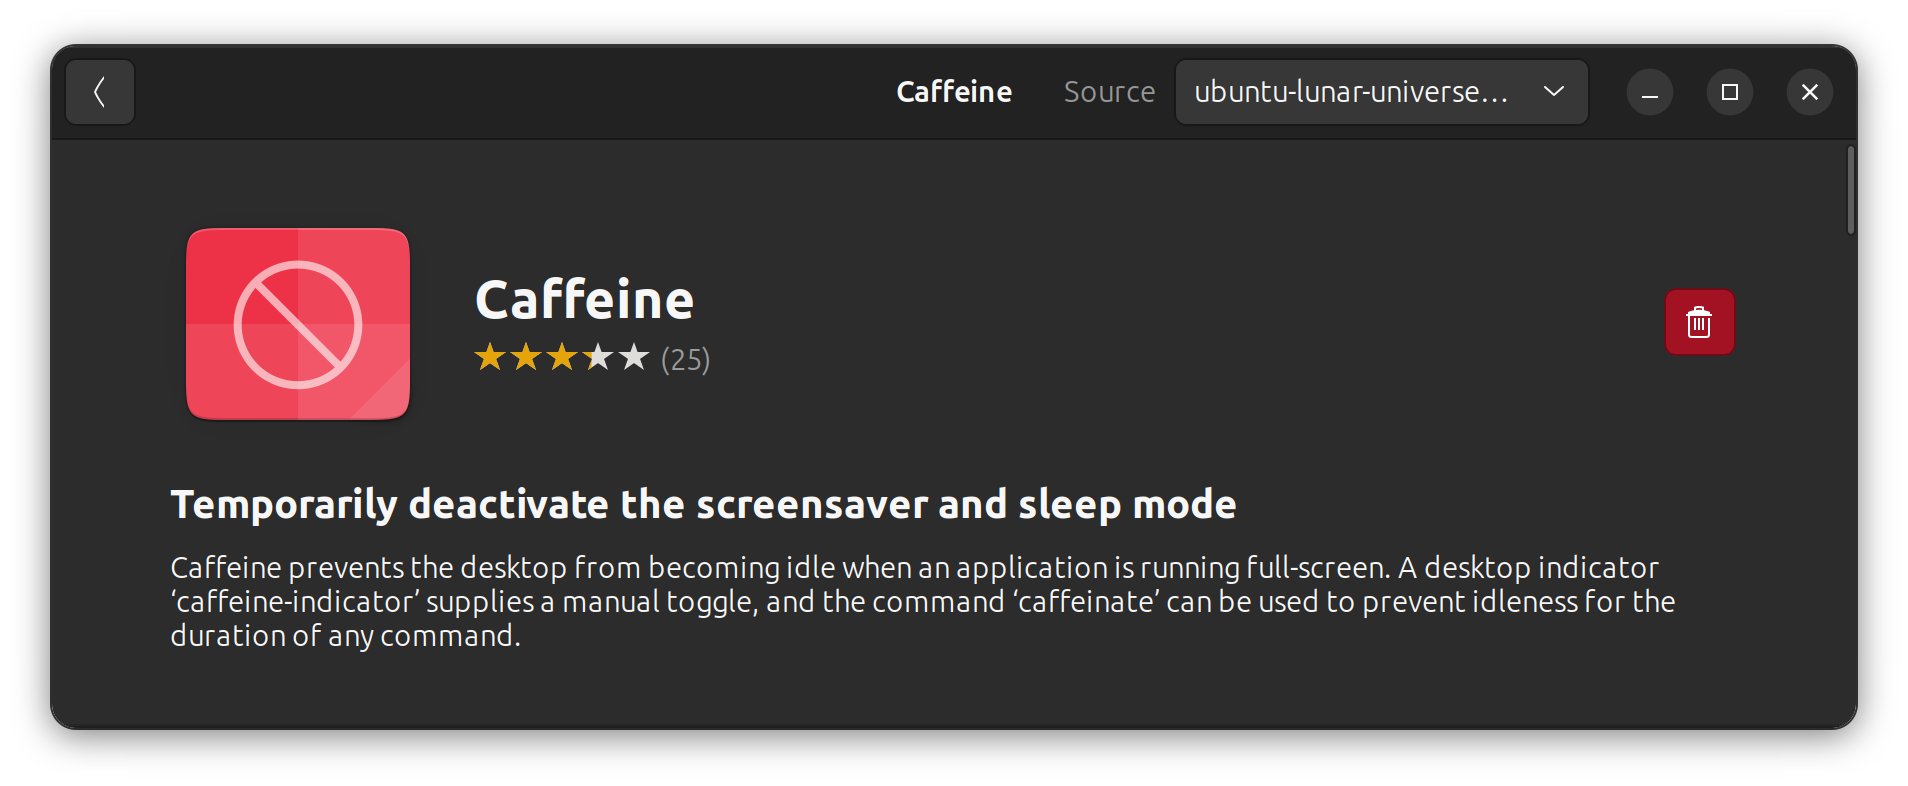
Alternatively, you can use the following command in the terminal:
sudo apt install caffeineOnce installed, search for it in the activity area (press the Windows key and type caffeine).
Start the Caffeine Indicator as it comes with an applet indicator that sits on the top panel.
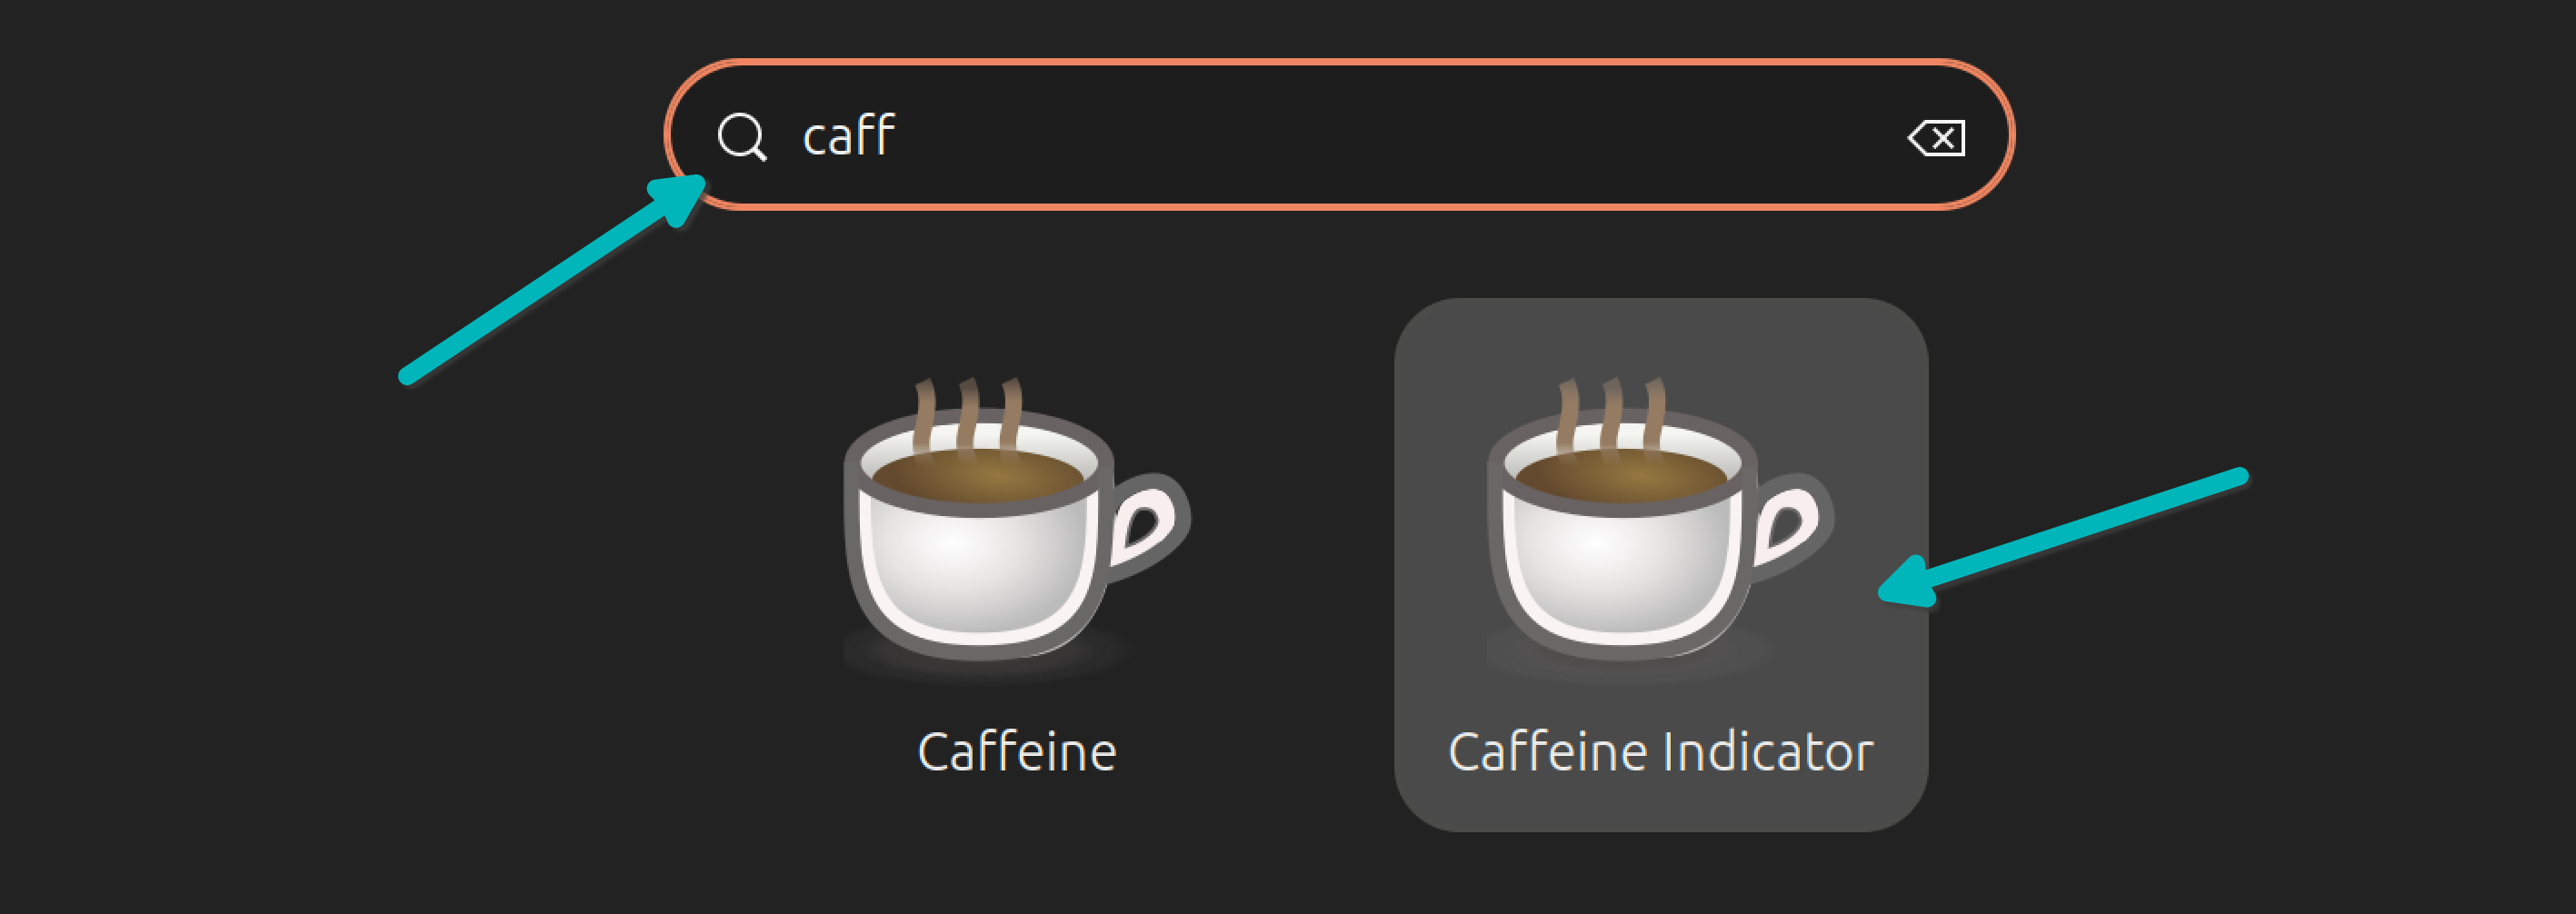
You'll now notice a coffee icon in the top panel. Click on it and click enable to activate the app.
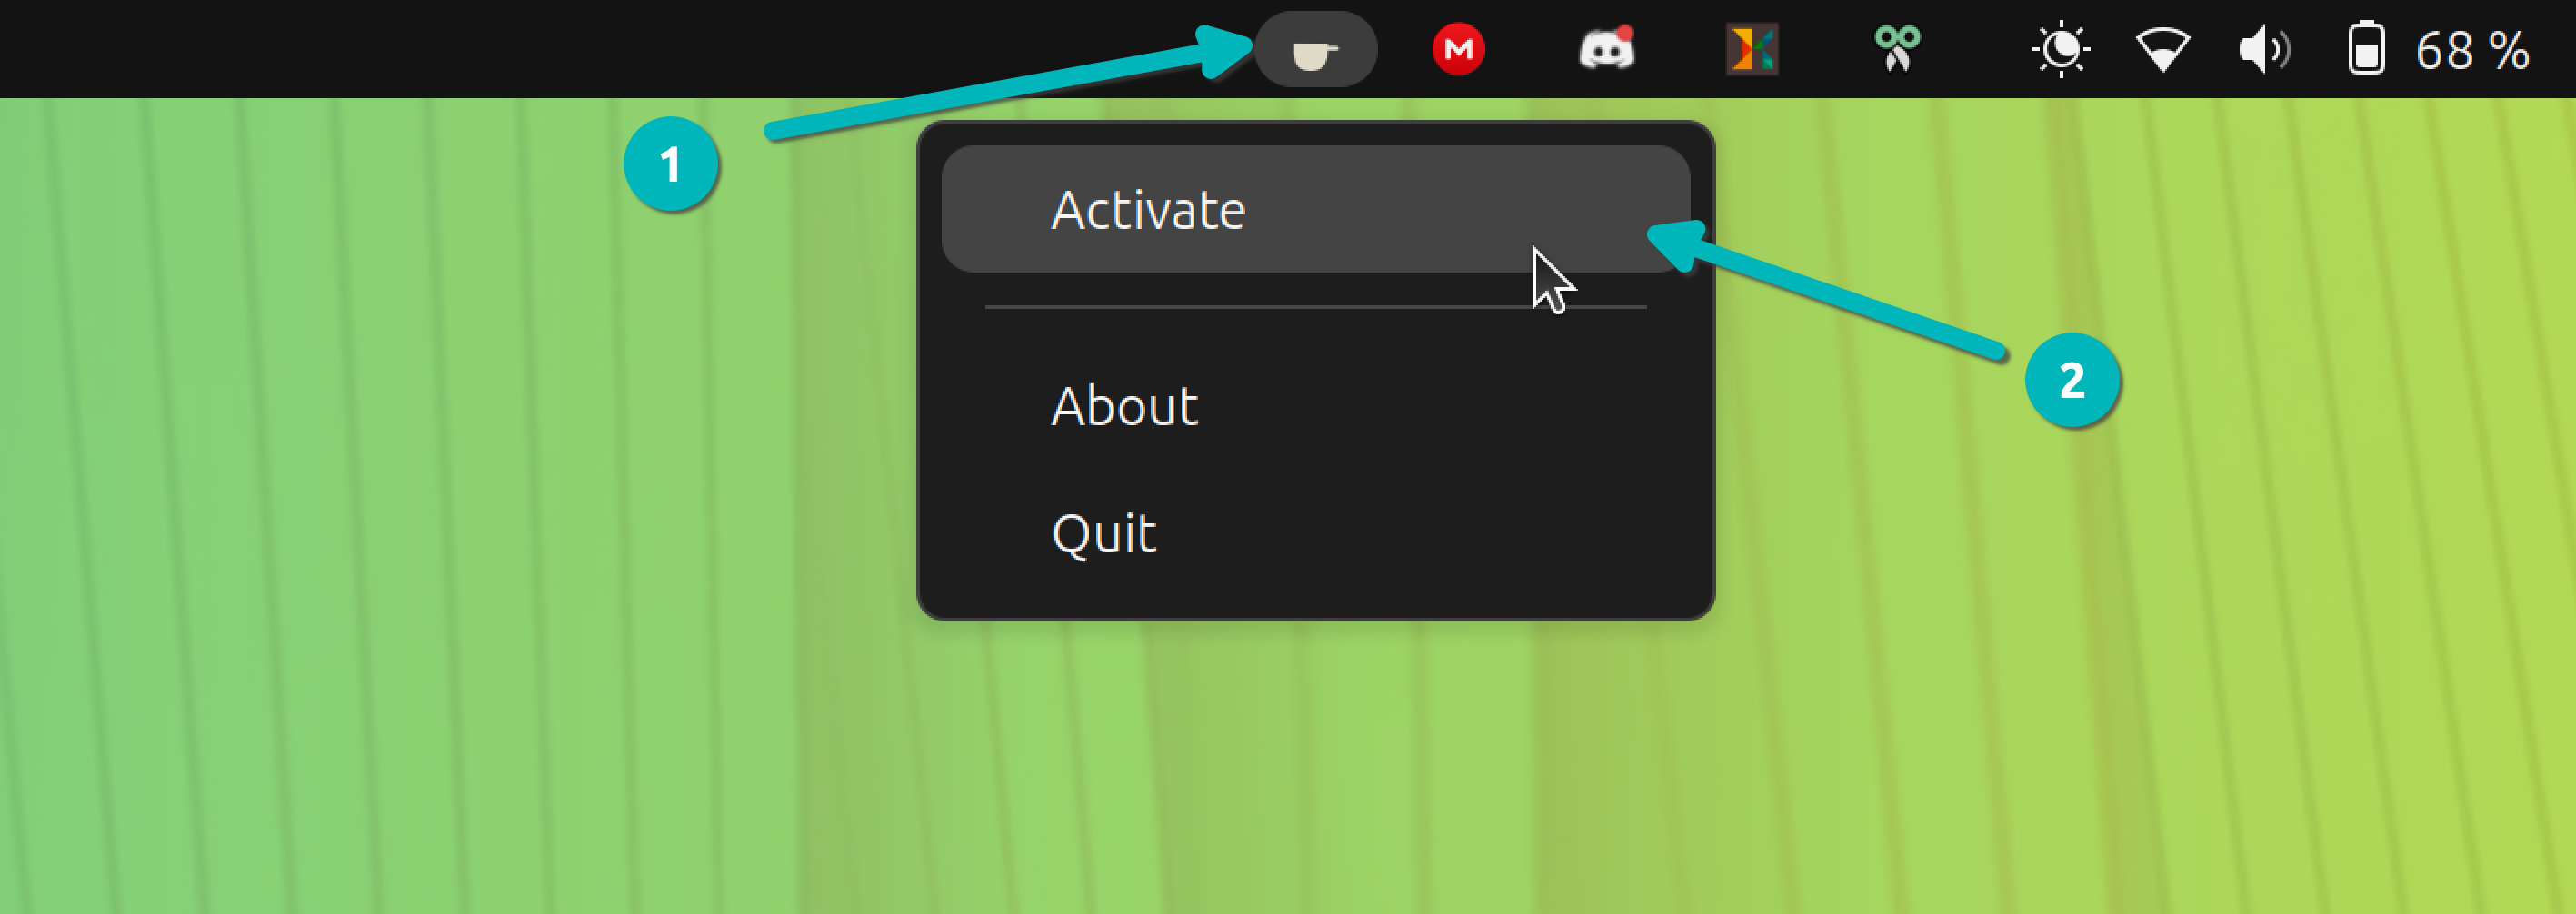
That's it. As long as your system is on caffeine, it won't sleep 😉
Once you want to go back to normal behavior, deactivate the Caffeine app the same way you activated it.
More power settings tweaks
If you want to keep the laptop lid closed while it is connected to external monitors, here's what you can do.

I hope this quick little tutorial helped you prevent Ubuntu from going into sleep mode.
Let me know if you have questions or suggestions.


0 Commentaires